

Winter is such a brutal season that its important to prepare for it. Some things even involve a "winterization" process to protect them from winter's cold temperatures, snow and ice. Winterization also translates into the beauty world. The cold, dry air can affect your skin, hair and nails, so its important to change up your beauty routine to prepare for it. Before we get into what my winter nail care routine entails, I thought I'd first share my Winter nail polish picks:
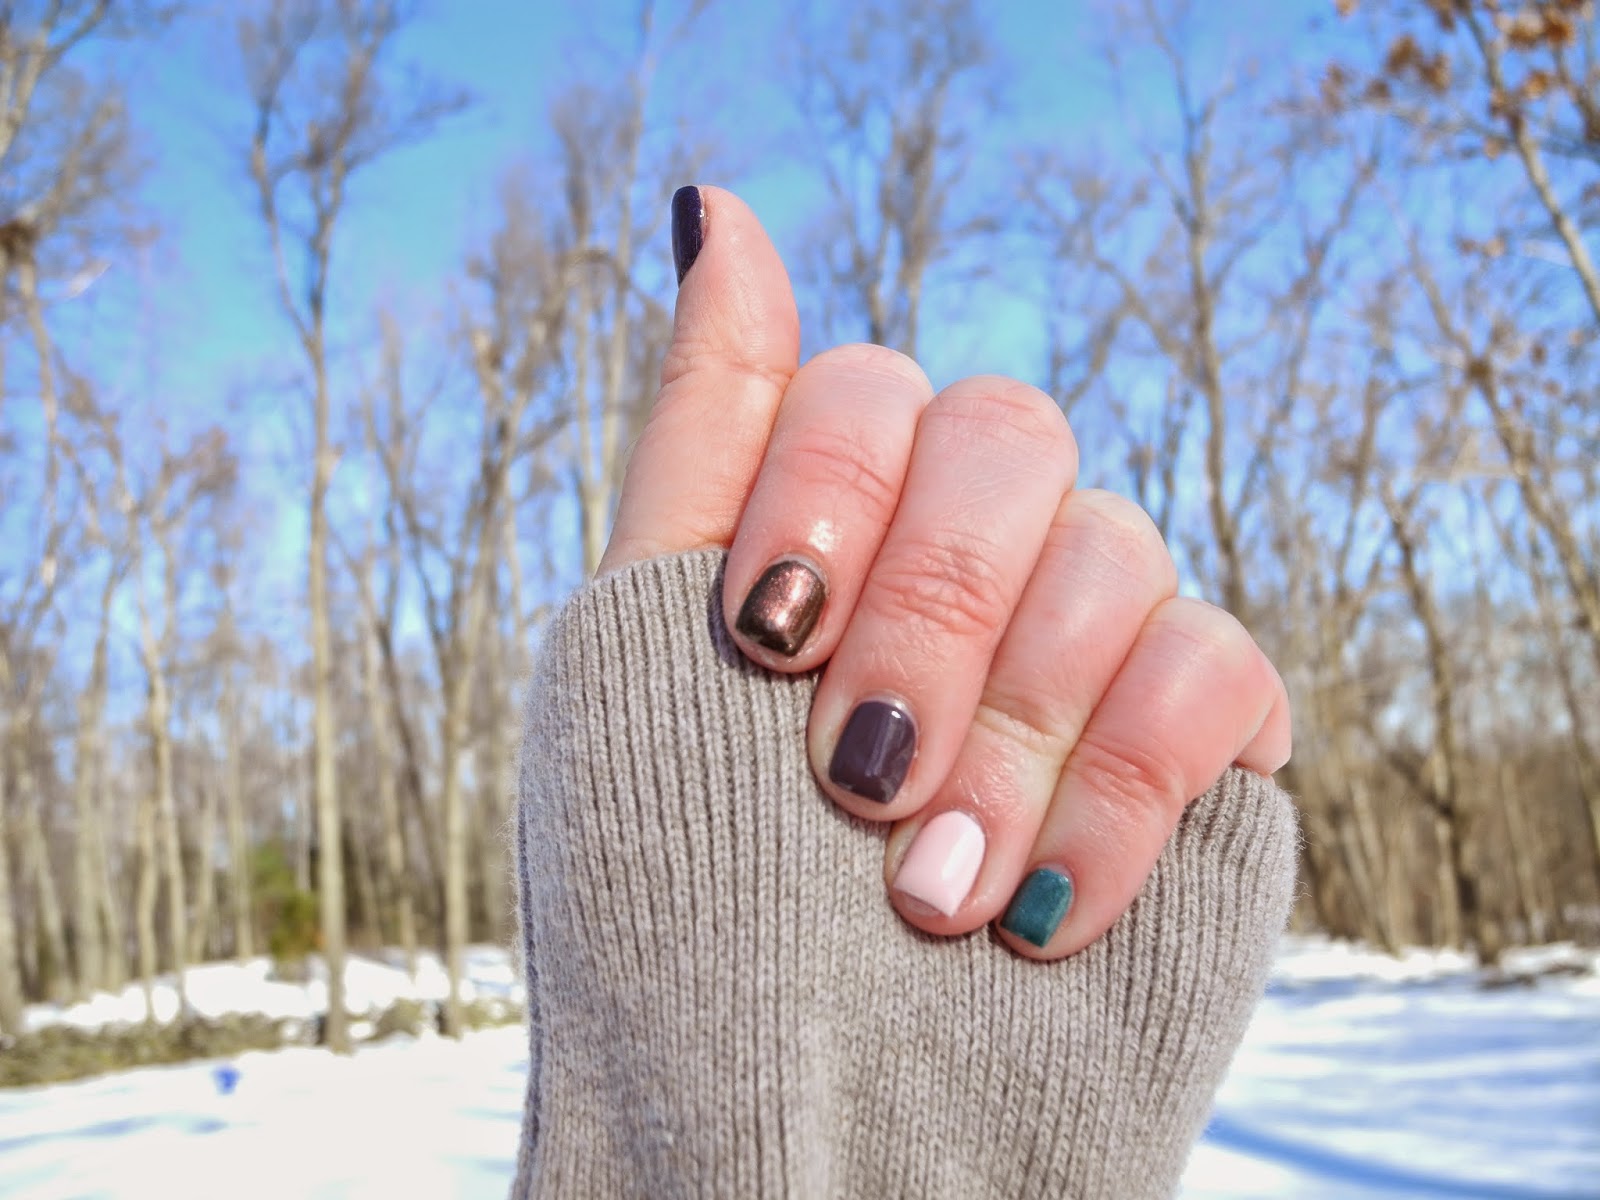
Julep Kiki - This is a ice blue with silver shimmer. The color reminds me of the movie Frozen. Its almost the color of Elsa's dress. Yes, I still watch Disney movies as an adult. This is the color I've been reaching for lately when I want a fun pop of color on my nails.
Essie Fiji - This is an opaque pale pink. It is a perfect pastel pink that will transition nicely into the spring. The drawback to Fiji is that with most pastel colors, its streaky. It requires patience and many coats to get the color fully opaque, but it is achievable. I used three coats here.
Julep Joanne - This is a smoky plum color with a creme finish. Its a very ladylike and work-appropriate shade. Opaque in two coats.
Julep Sawyer - This is a molten copper color with metallic shimmer. It is a gorgeous, rich color that looks different depending on the lighting. The formula is thick, you can get away with one coat if you're careful.
OPI Ink - This is a deep ink blue with shimmer. The color is almost a mix of blue and purple that is peppered with a pink shimmer throughout. Its really a mesmerizing color, opaque in two coats.

Now that you've picked out that perfect winter color, its time to treat your hands to a winterized manicure. The cold temperatures and dry air can wreak havoc on your nails so its important to change up your nail care routine to keep your nails healthy and strong during the winter months. Here's how I do it:

Step 1 - Clip & Shape
I use a square ended nail clipper and my trusty Ruby Stone nail file to keep my nails short during the winter. The cool, dry winter air causes my nails to be more brittle. Wearing my nails short keeps them healthy and makes them less susceptible to breakage.
Step 2 - Cuticles: Be Gone!
I soak my nail beds with a cuticle eliminator for about 30 seconds which softens them, making them easy to remove.
Step 3 - Give 'Em A Nudge
Next I gently push back my cuticles with a cuticle pusher.
Step 4 - Clean Up Time
Next I wash my hands thoroughly with warm soapy water. I then buff away any unevenness on my nails using a buffer block and use a cuticle nipper to nip away any nail hangs or leftover dead cuticles. Be careful not to over-trim!
Step 5 - Extra Oomph
Since my nails have been so dry, I've started using a strengthening base coat to give my nails a little boost. I use the base coat under my nail polish and I've really been noticing that my nails feel stronger and I'm having less breakage.
Step 6 - Moisturize Often
Once my nails are dry I finish up with a hand lotion. I massage Essie's Many Many Mani Hand Lotion, into my hands and cuticles as the last step of my manicure. This is a thick lotion but it melts into my skin in seconds and helps keep my hands nourished and happy through the dry winter months. I keep this lotion on my bedside table and use it in between manicures to keep my hands hydrated.

I hope this post gave you some ideas on some new winter colors to try and also inspired you to winterize your nail care routine!
Reference:
Julep
Essie
OPI
Sally Beauty Supply

Fiji is my favorite here! I'm a sucker for pale pinks.
ReplyDeleteMe too Katie! They are so annoying to apply but the end result is so pretty.
Delete